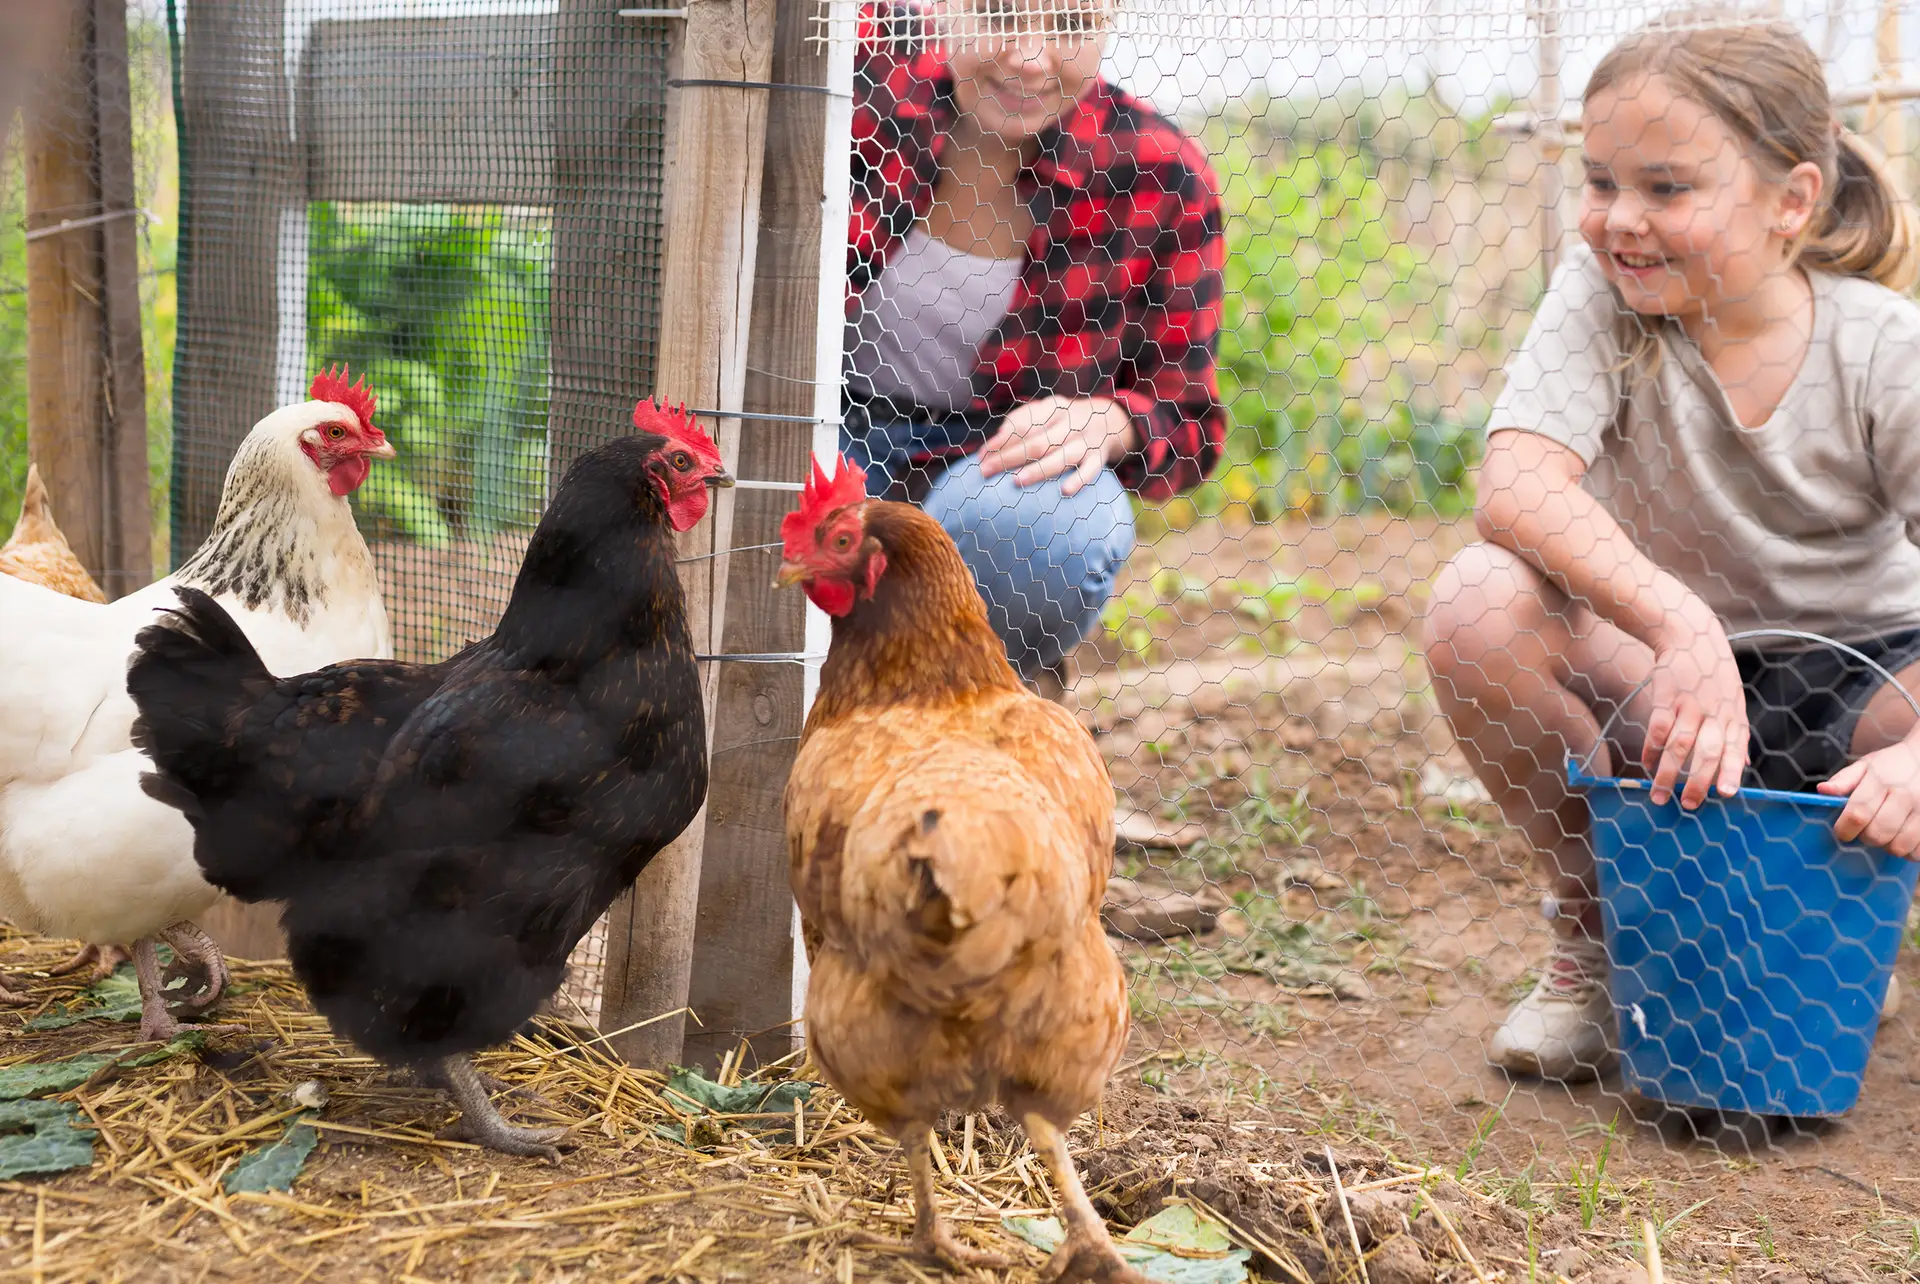

Raising mealworms at home is fun and easy, and ensures you always have a supply of healthy chicken treats on hand. All you need is a little chicken feed, a tray or bin of some sort, and some veggies scraps from the kitchen for moisture.
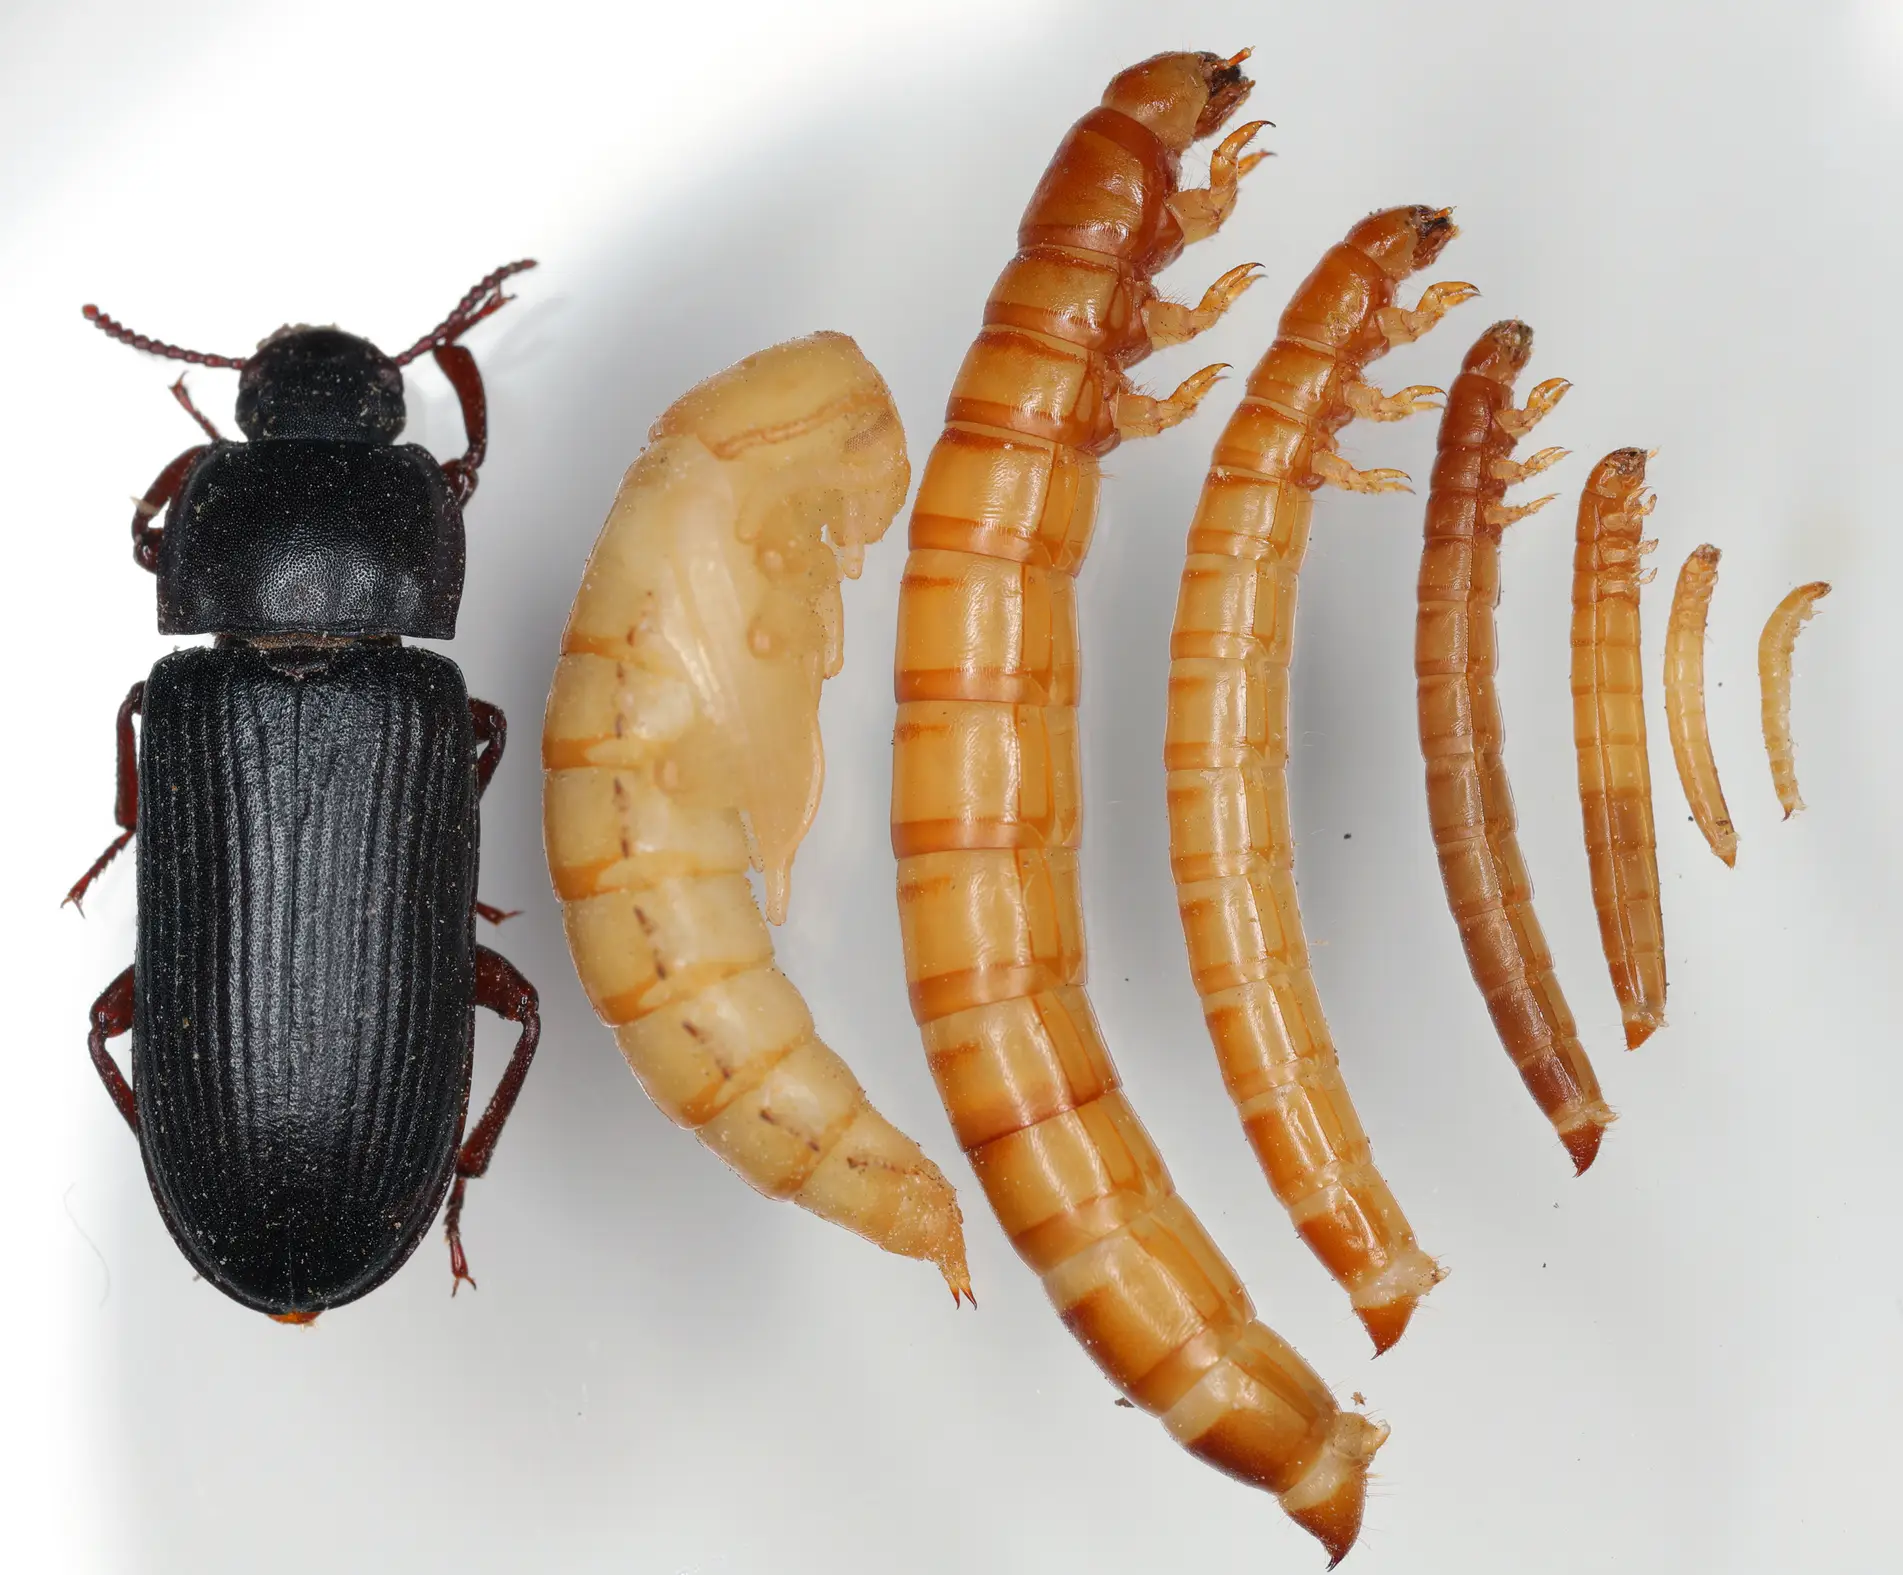
The life cycle of the mealworm lasts about four months at warm temperatures, though it can take a full year at cool temperatures. The tiny eggs hatch into nearly microscopic larvae, which then feed ravenously and grow constantly. Normally, in 8 – 10 weeks, the larvae will reach about an inch in length, and then they turn into pupae. The pupae look like aliens, not like worms or like the beetles they will become. After 1 – 3 weeks, the pupae turn into beetles. They are white at first, then as they grow their exoskeleton, they turn to pink, then red, and finally to black. They are now ready to breed.
The mealworm life cycle can take place in a single container. Shallow trays are best. Clear plastic shoeboxes work well, though you can use whatever you have handy. The ideal density of beetles in your tray is 6 per square inch. The small, 12 x 7 inch shoeboxes have 84 square inches of surface area, so that container has room for about 500 adult beetles.
Before you add the beetles, you must prepare the substrate. This is the material the beetles will lay eggs in, and that will provide food for the beetles and their larvae. Chicken feed works great, but it should be a finely-ground mash so that you can sift the mealworms out of it easily later on. You can also use cornmeal, if you don’t have any mash on hand, or an easy way to grind chicken feed.
Place about an inch of feed or meal on the bottom of the container, and then add your beetles. Now all they need is a moisture source. Chunks of carrot, potato, or apple will do. You can use peels and trimmings if you like. Add enough moist material every couple of days to allow the beetles to get a drink, but don’t add so much that the meal becomes damp and clumpy, otherwise mold or grain mites might erupt.
Now, all you have to do is wait. Within two months, you will see half-grown mealworms, and about a month after that, you can harvest your first mealworms. By this time, the meal you started with will have been consumed by the beetles and their larvae, and been replaced by frass, the name for insect droppings. This frass is wonderful fertilizer for indoor or outdoor plants. However, it is no longer good for your mealworms, so it is time to replace it.
Sift out all the mealworms and beetles in your tray, using a mesh sieve. An old window screen will do in a pinch. Replace the frass with fresh meal, and return the mealworms and beetles to their container. You can harvest a large portion of the mealworms for your flock, but be sure to allow plenty to become pupae, and then beetles. Your original beetles will live for 6 months or so, but they lay few eggs by the end of their lifetimes. They need to be replaced every 2-3 months to keep your mealworm farm productive.
How many mealworms can you produce this way? There are a lot of variables, but you can produce several thousand, as many as 10,000 per month in a single plastic shoebox. If you want to grow more mealworms, you will need to move on to a multiple tray system, in which one tray is used for beetles/egg laying, and additional other trays are used to rear the larvae. The beetles are moved from their tray every 2-4 weeks, and placed into fresh meal. Their old tray, now full of eggs and tiny mealworms, is home only to that generation of larvae.
We will go into much more detail about mealworm farming in future blogs, including how to produce your own beetles in an efficient way, so check back often!